How to update MAG?
To rectify an issue, it is often advisable to upgrade the MAG box to the most recent iteration of the released firmware. The subsequent guidelines will lead you through the process of updating your MAG box firmware.
Guidance on Updating Firmware for the MAG box:
- Disconnect the MAG box from its internet connection.
- Initiate a reset of the MAG box.
- Allow for the display of the “Page Loading Error” message on the screen.
- Attach the Internet cable to the box.
- Through the selection of the Embedded Portal, the box will undergo an update to the latest version.
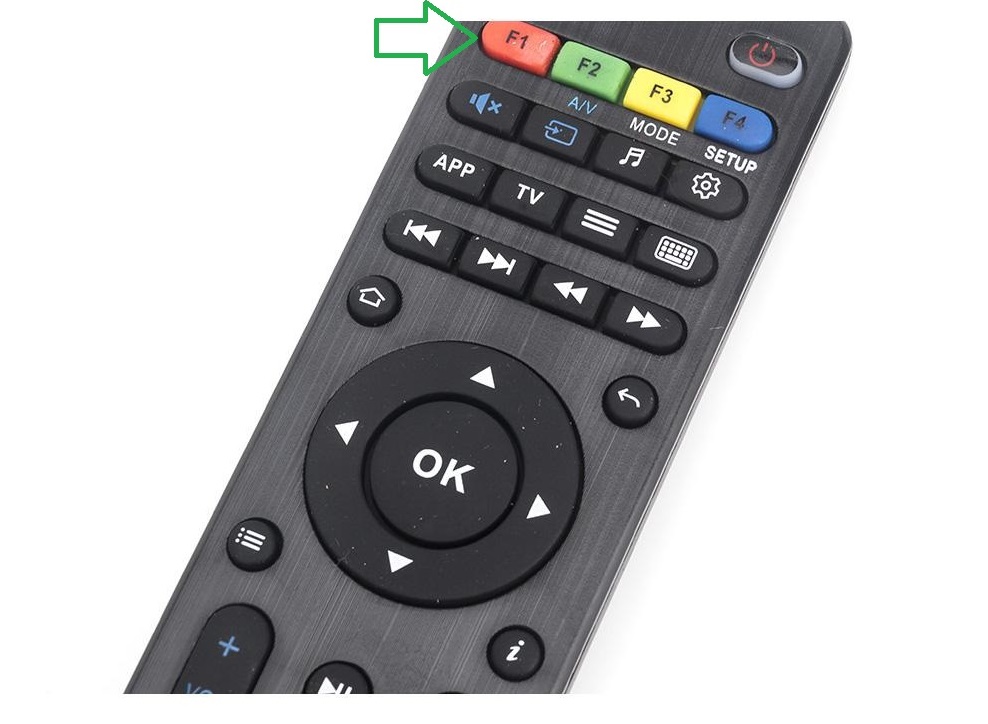
- In case the automatic update fails to commence, depress the SET button on the remote, opt for “software update,” press OK, and subsequently press the F1 button.

Certain MAG devices encounter a loss of portal settings after updating the device to the most recent iteration of system software. Consequently, this impedes clients from adding any portal addresses to the device.
In the following procedure, we will elucidate how to revert the system software to the previous version utilizing a USB drive.
How to update MAG via USB
To update STB from System settings via a USB:
Step 1: Ensure compatibility of your USB drive with the device’s specifications.
Step 2: Obtain the necessary SW image file (imageupdate). It’s worth noting that the latest version of the Factory SW image can be acquired from the manufacturer’s server: http://update.infomir.com/mag/<model>/imageupdate (<model> corresponds to the STB model number). For example, for MAG322, the link would be: http://update.infomir.com/mag/322/imageupdate
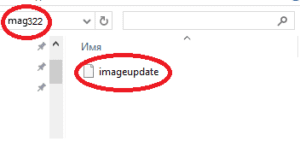
Step 3: Create a directory named mag<model> at the root of the USB drive and place the “imageupdate” file into this directory. For instance, if you’re using a MAG322, the directory name would be: mag322.
Step 4: Attach the prepared USB drive to the STB. You can utilize any USB connector on the STB, whether located at the rear or front.
Step 5: Navigate to Settings ⇒ System settings ⇒ Software update.
Step 6: Within the Software update window, configure the Update method to be USB. Subsequently, you will observe two new strings:
- Disk: This indicates the name of the USB drive.
- Path: This denotes the path to the update file on the USB drive.
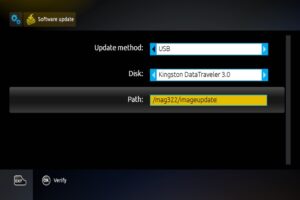
Step 7: Choose Verify (OK) to confirm that the STB can detect the “imageupdate” file.
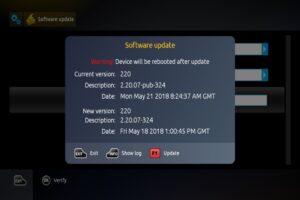
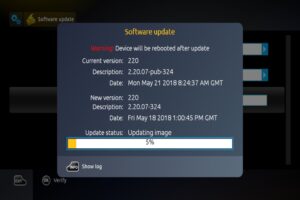
Step 8: Upon successful detection and readability of the file, the Software Update window will be displayed.
Step 12: Wait patiently until the update process is finished. Once the update is complete, the STB will reboot automatically.
Note: Do not power off the STB or remove the USB drive until the update is fully completed.
Feel free to share your suggestions and feedback in the comments section to help us enhance the quality of our articles. Thank you for your input.
Leave a Reply