How to setup IPTV on Kodi via Stalker Client?
Kodi is a complimentary program serving as a digital hub for multimedia operations. X operates seamlessly across diverse platforms, including but not limited to, Android, Microsoft Windows, Linux, iOS, and devices such as Amazon FireTV, Smartphones, Apple TV, Xbox, and PC.
This software empowers users to engage with their multimedia content, facilitating seamless transmission from a primary source to a secondary devices. How to setup IPTV on Kodi?

Warning: Kodi Stalker serves as a cautionary tale, as it is not an authorized IPTV viewing application. Rather, it is a tool exploited by hackers to pilfer IPTV line credentials.
How to setup IPTV Stalker on Kodi
Step 1: Start by downloading Kodi based on your operating system: https://kodi.tv/download
In this case, we select “Windows“.
*Please note, the following instructions detail how to configure IPTV on Kodi within the Windows environment. However, the setup process remains largely consistent across all operating systems.
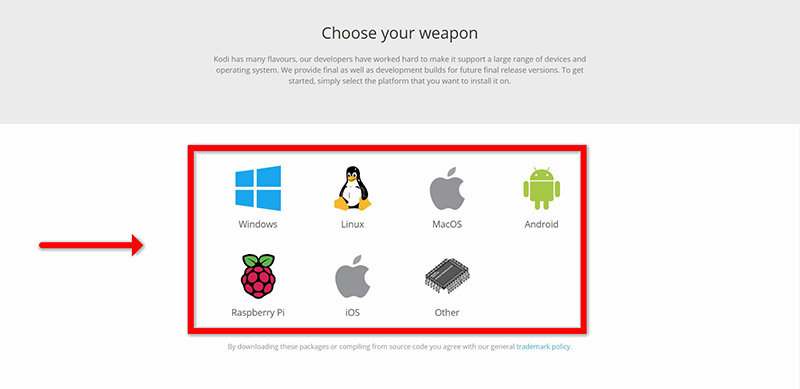
Step 2: Select 64 Bit or 32 Bit based on your operating system.

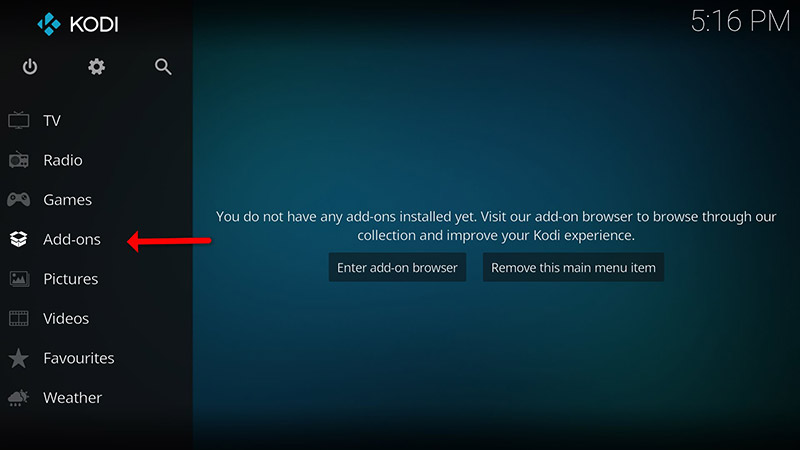
Step 3: After install and open it, click on “Add-ons“.
What is Kodi Add-on?
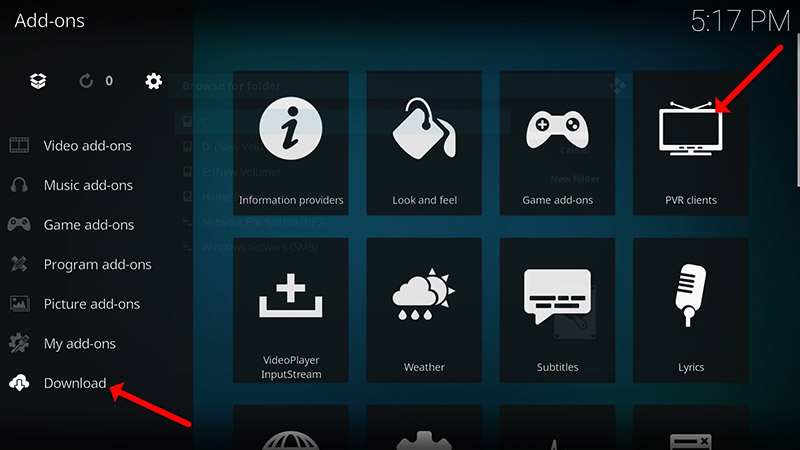
Step 4: Now click on “Download” then select “PVR clients“.
Note: The upcoming steps involve downloading and installing the PVR add-on. Once installed, there is no requirement to revisit the “Download” section. You can access the installed add-ons under “My add-ons“
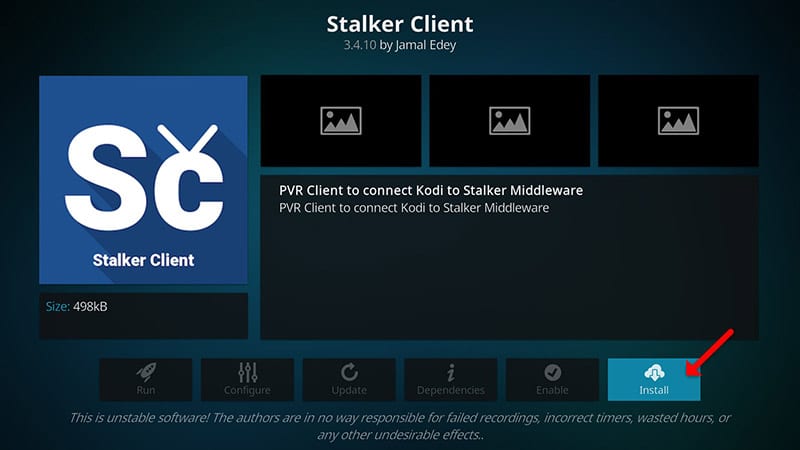
Step 5: Select “Stalker Client“.
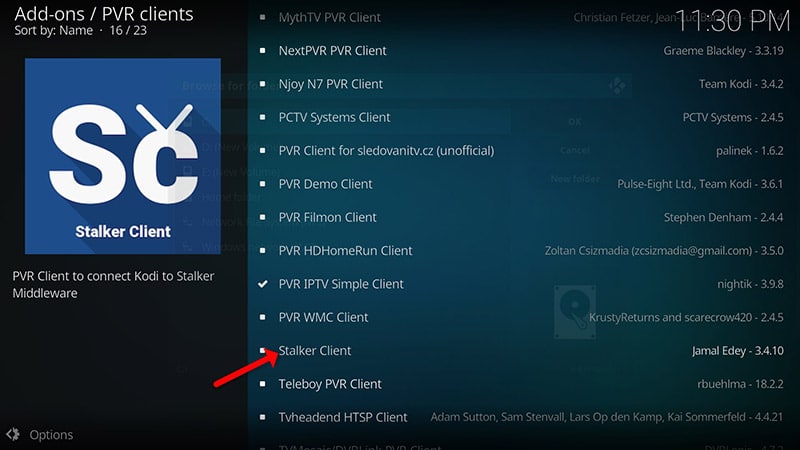
Step 6: Now click on “Install“.
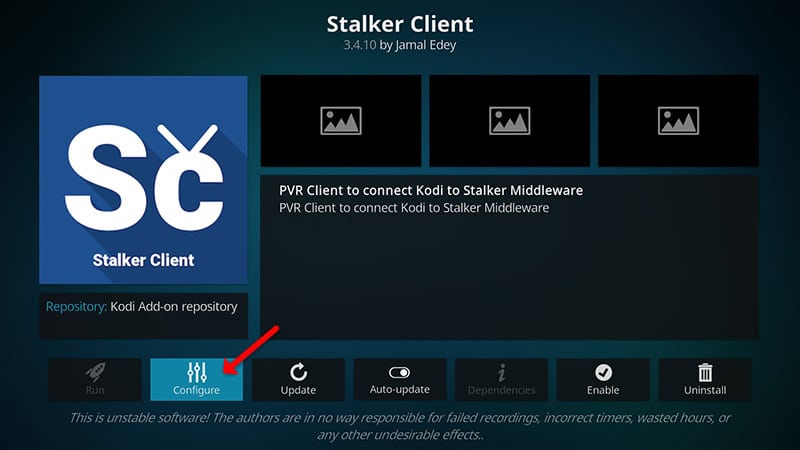
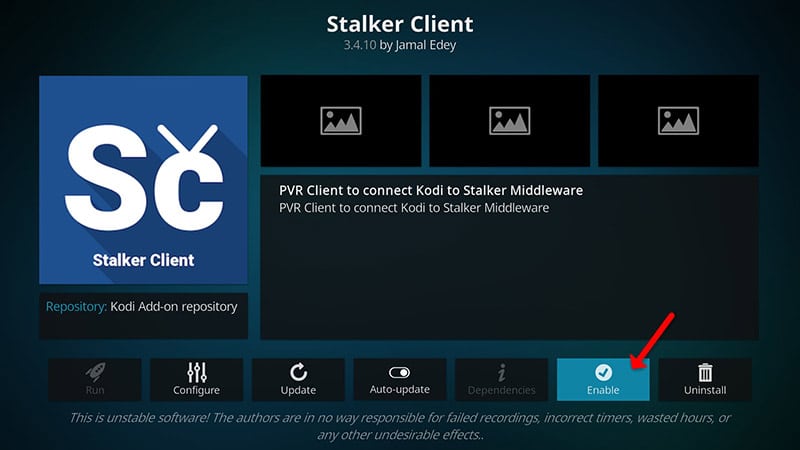
Step 7: After installing “Stalker Client” head back to “My add-ons” then “PVR Clients” and run the add-on.
Now click on “Configure“
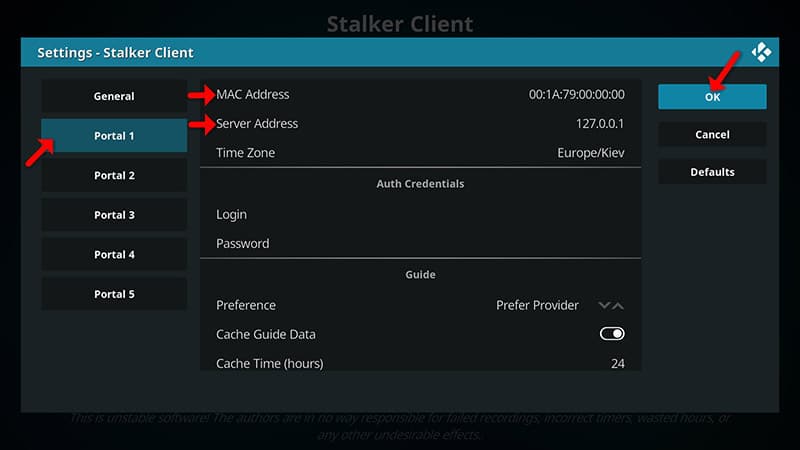
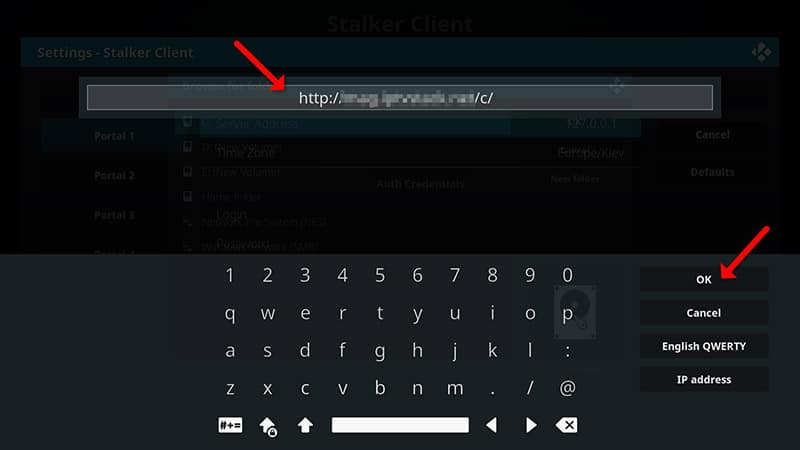
Step 8: Choose Portal 1, and input the Server address furnished by your IPTV distributor along with the Mac Address of your device. Once the information is entered accurately, click on “OK“.

How to find the Mac address and link it to your account:
Part 1: Find your Mac address, This is a number of sorts that you are going to need to tie your device to your subscription. What is MAC address in MAG devices?
Part 2: How to link your Mac address to your Subscription:
- Login to your panel.
- Click on the “Change IPTV Mac address” button.
- In the designated text field, input “00:1A:79:” followed by the last six characters of your Mac address. (For example, Mac address is “2A:B3:35:03:E7:36”).
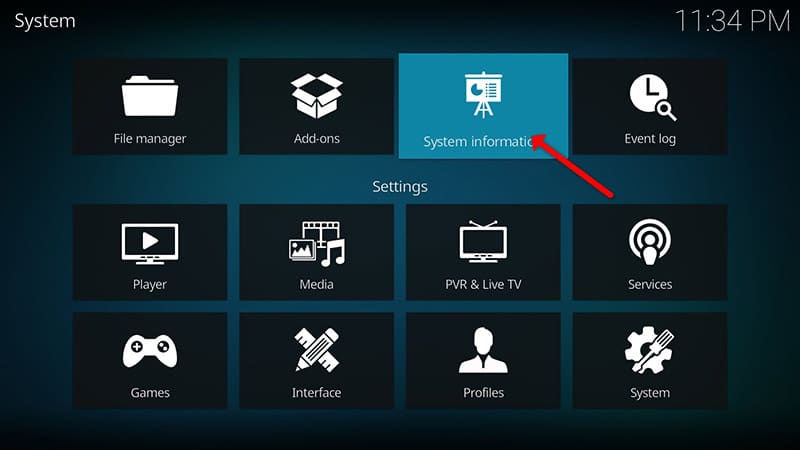

Step 9: Select “Enable“.
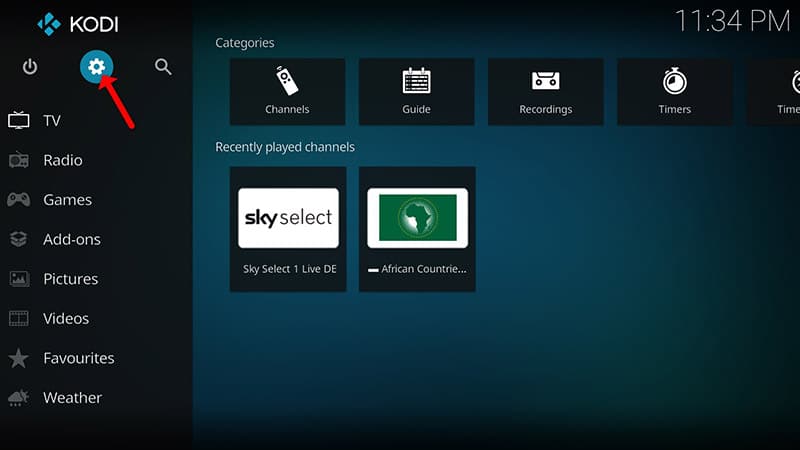
Step 10: Head back to “TV” and click on “Channels“.
During this phase, it is crucial to restart your device to prevent any potential errors. Upon restart, navigate to the TV section, which will now be available. Click on TV to proceed.
Conclusion
Kodi possesses the capability to play a vast array of media content, offering extensive customization options. You can personalize the color scheme and user interface skin according to your preferences. Furthermore, Kodi supports the addition of numerous add-ons, enriching your entertainment experience. However, it’s important to note that this particular add-on functions as a MAG emulator and may not perform optimally on all devices.
If you require additional assistance, please feel free to ask your questions in the comments section.
Leave a Reply